
How to Remove Candle Wax (and Give an Antique Vessel a Second Life)
A step-by-step guide to cleaning leftover soy wax out of sterling silver and cut crystal, so an heirloom vessel can be used again for decades after the candle is gone.
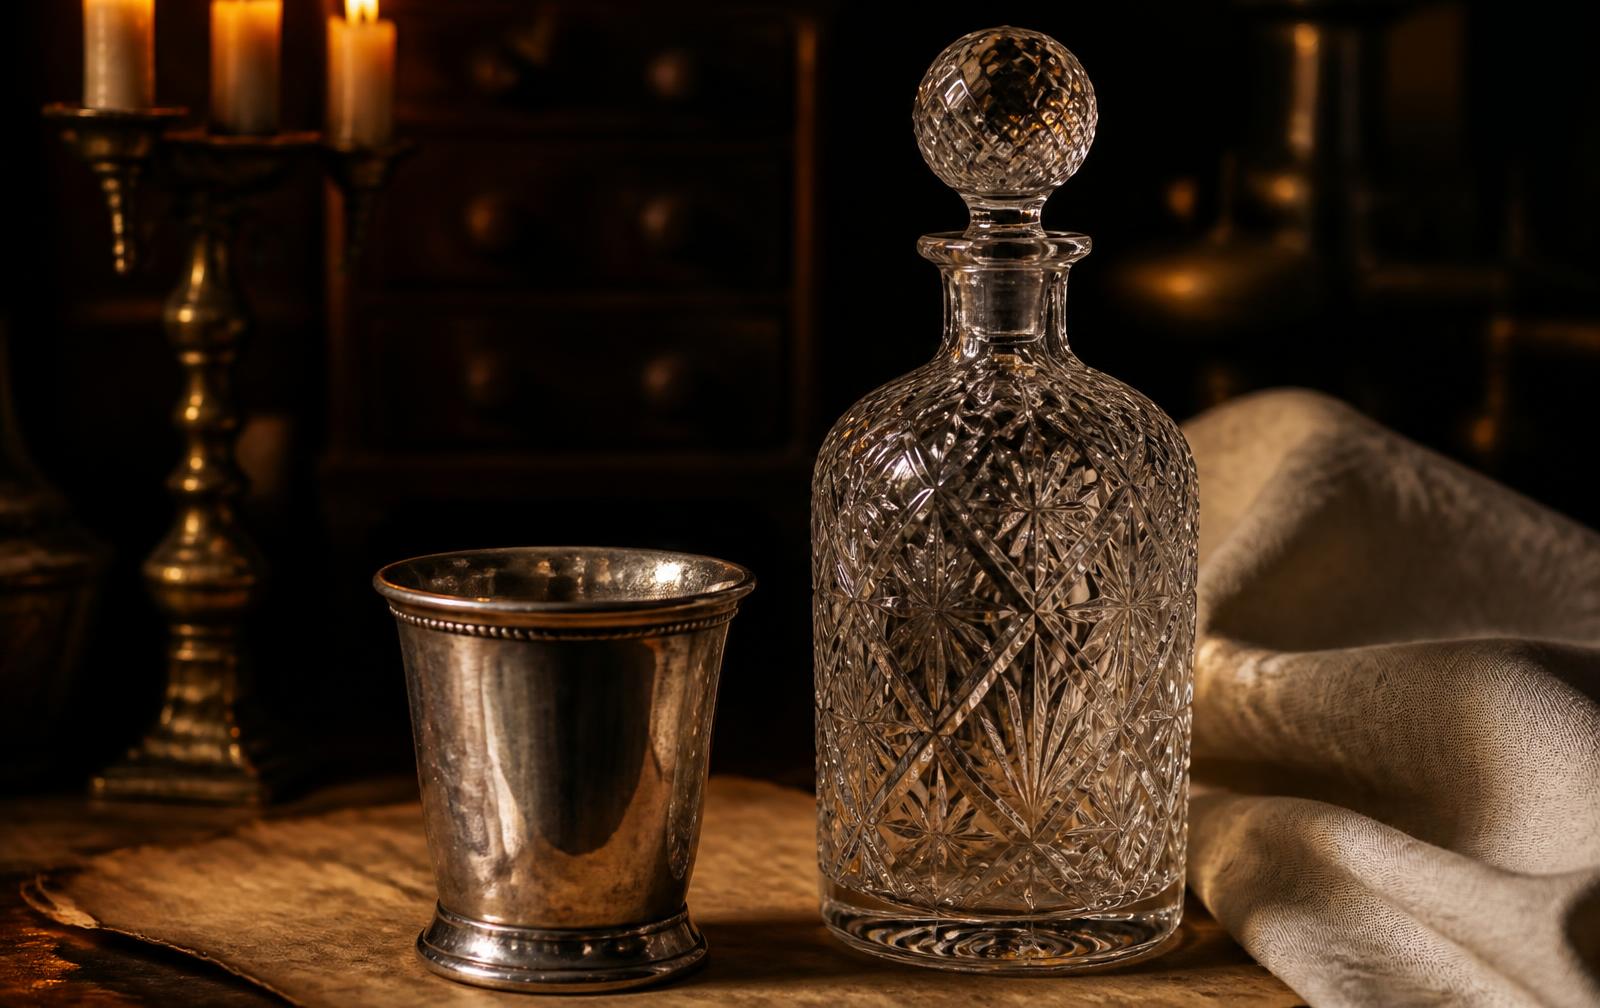
The candle is the shorter half of the arrangement. Forty or fifty hours of burn, and then the wax is spent and you are left holding the thing we actually went looking for at an estate sale in the first place: the vessel.
That is the design. A sterling cup from 1890, a hand-cut crystal decanter, a footed porcelain bowl, none of these are finished because a wick ran out. The only question is how to get the last of the wax out cleanly, without hurting the object underneath. So here is the step-by-step method we use in the workshop. It works for every vessel we sell, and it works for the ones you already have at home.
WHY SOY WAX IS EASY TO REMOVE
We pour in 100% soy wax with no artificial coloring, which is the friendliest possible material for this job. Soy has a low melt point (around 120 to 130 degrees Fahrenheit) and a clean shrink profile, so it releases from a smooth vessel wall more willingly than paraffin ever does. It also does not stain. A paraffin candle can leave a greasy film that clings to silver and etches into lead crystal over time. Soy lifts off with warm water and a little patience.
The method below is the same one we recommend to every customer who writes to ask how to remove candle wax from a vessel they bought from us. No special tools, no harsh chemicals, nothing that will damage an antique finish.
WHAT YOU WILL NEED
- Warm (not hot) water
- A shallow bowl or basin
- Mild dish soap
- A soft lint-free cloth or microfiber towel
- A wooden or silicone spatula, or an old credit card
- For crystal only: a tablespoon of white vinegar and a small handful of uncooked rice
STEP ONE: LET THE REMAINING WAX SOFTEN
Once the flame will no longer hold, stop burning the candle. Do not dig at cold wax with a knife. Silver is soft, and even a butter knife will leave bright scratches across a plated or sterling surface that will not come out. Crystal is harder but brittle, and metal against glass is how chips happen.
Instead, set the vessel in a shallow bath of warm water, around the temperature of a comfortable bath, not a boiling kettle. Hot water is the single most common way people damage antique vessels while trying to clean them. Lead crystal cracks under sudden temperature change, a failure called thermal shock, and a plunge into near-boiling water can split a decanter that has survived a hundred and twenty years. Keep it warm. Ten minutes is usually enough for the soy to soften.
STEP TWO: LIFT THE WAX OUT IN ONE PIECE
Once the wax has softened, press gently on one edge with a wooden spatula or the corner of an old credit card. Soy wax that has warmed through will usually release from the vessel wall and lift out as a single disc, wick tab and all. If it resists, give it another five minutes in the warm bath. Patience is faster than force.
Pull the metal wick tab free. It is held in place by a small dot of adhesive that will release with a little warm water and a fingernail. Do not use a metal tool to pry it. A plastic spatula or your fingertip is enough.
STEP THREE: WASH THE INTERIOR
With the wax out, wash the inside of the vessel with warm water and a few drops of mild dish soap. Use a soft cloth, not a scrub brush. Rinse with warm water and dry thoroughly right away. Water left standing in a silver vessel is what causes tarnish and, over time, pitting.
Never put an antique vessel in a dishwasher. The heat, the caustic detergent, and the force of the spray arms will turn a century-old piece into a hazy ghost in a single cycle. Hand washing only, always.
STEP FOUR: CRYSTAL-SPECIFIC CARE
If the vessel is cut crystal and the inside has clouded, do not reach for bleach or harsh detergent. Both will pit lead crystal over time. Fill the vessel with warm water and a tablespoon of white vinegar and let it sit overnight. In the morning, add a small handful of uncooked rice and swirl gently for several minutes. The rice acts as a soft abrasive against the inner walls without scratching. Rinse and air-dry upside down on a wooden rack.
For sterling and silver-plated vessels, a quick polish with a jeweler's cloth after drying will bring the shine back. Skip the dip-style silver cleaners if you can; they strip patina along with tarnish, and patina is part of what makes an old piece look old in the good way.
STEP FIVE: GIVE IT A JOB
Now the vessel is clean, dry, and empty. The wax is gone and the object is ready for the next forty years.
A julep cup makes an excellent holder for pens, or for a single stem of something clipped from the yard. Cut-glass tumblers keep cotton rounds beside a sink better than anything sold for that purpose. Small footed bowls take rings and cufflinks at the end of the day. A cleaned decanter, with the stopper out, holds a tealight on a brass coaster and becomes a lantern with memory.
Or send it back to us. If a vessel came from our archive, we will refill it with any scent in the current library at the wax rate alone, which is $2.00 per ounce, and return it to you. Same cup, same dent, same monogram, new forty hours.
WHAT NOT TO DO
A short list of the things that will ruin an heirloom vessel faster than the candle ever could:
- Do not put the vessel in the freezer to crack the wax out. Crystal splits under thermal shock. Silver can warp.
- Do not use boiling water. Same reason. Warm is enough.
- Do not scrape with metal. Silver scratches; crystal chips.
- Do not use bleach, acetone, or abrasive powder cleansers. They will etch crystal and strip silver plate.
- Do not put any antique vessel in the dishwasher. Ever.
THE POINT
An object that keeps getting used never really becomes an antique. It just becomes old and busy, which is the better outcome. The wax is a phase. The vessel is the point. Clean it out carefully, and it will keep holding things, and holding a room, for longer than any of us will be around to notice.